Flo-Jo Boutique

Thursday, 3 July 2014

My two weeks work experience at Flo-Jo


Hello everybody!

My name is Cecile and I want to use this entry to tell you about some experiences I had in the Flo-Jo Boutique.
Before I start, I want to give you a short introduction about myself.
I’m a seventeen years old girl from Germany. I come for my last work experience (before I finish school) for one month to England, Bristol. I live with a host family here, near to Flo-Jo’s. My stay in England was organized from the Organisation EPN. For me it’s the first time I am in England. In general one could say that I am absolutely happy in Bristol and also England, it is a really beautiful country with so many interesting things.
My internship was for two weeks located at the Flo-Jo’s Boutique. Today is my last day, so now I want to use the opportunity to give a review during my time at the shop.
The first time I visit the shop I was really positively surprised and delighted. This shop on the Gloucester road is absolutely lovely. On my first day I met Delia, one of the two owners. She introduces me into my work tasks and was very friendly and funny, so I start enjoying my time here. During the next days it was still the same good feeling in the Boutique. I met Erica, the other owner and the atmosphere still was enjoyable and I really start having a great time.

I just can say: If you’re interested in having a good work placement with many new experiences and knowledge, then ask the both owner and do your internship here! The work tasks are varied and because of the lovely atmosphere you will never get bored.
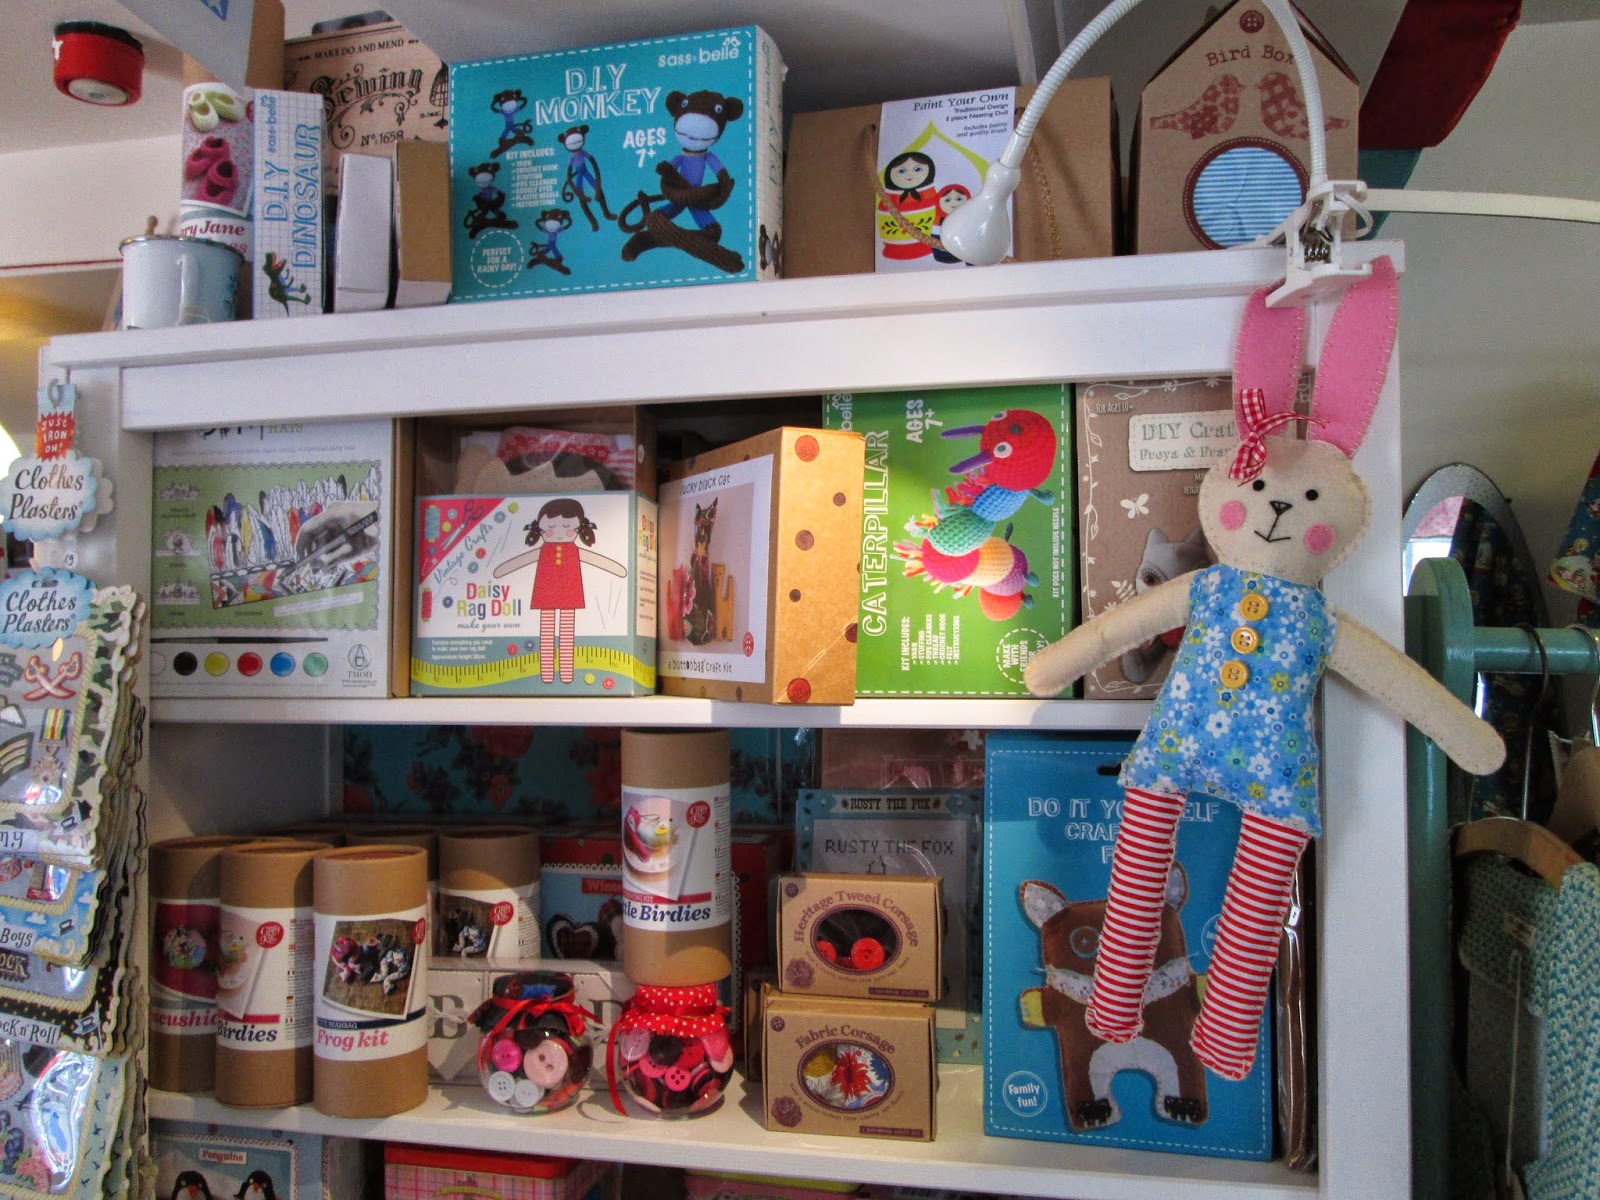
In my time here I had the chance to get an overview of this shop and one shelf was my favorite. 


I have a two years and for months old niece and I watched the shelf and all these cute Do-it-yourself packs we’re perfect for a present for her. It needs a lot time for me to decide for one DIY pack ( I really want to have them all).  I only can recommend these things, I think if you need a present, every child would be happy to have one of this cute packs.  It is always a good and fancy idea! I take an elephant one can fill in and prepare it yourself. The needles are made in plastic, so I can’t wait to make this elephant with my little girl.

All in all, I really want to say, that If you take time you can find the cutest and loveliest things in every corner and it starts being difficult to decide for anything. Also I think, that it is really important as a costumer to support this local shop, because it’s a good alternative against the normal, all known stores in the city.
I hope that I will get a second possibility to visit Bristol again. And If I do that, I will come back to Flo-Jo’s. :)


Cecile 

Thursday, 22 May 2014

Reviewing Caro London's card wallet sewing kit

Hi my name's Megan. I'm a year ten student at Cotham School and I have been working at Flo-Jo Boutique for three days for work experience. Dee and Erika have been keeping me very busy with jobs like serving customers and helping to keep the shop looking absolutely beautiful (also making a few fancy coffees!). 

Yesterday I was given the task of trying out one of the new sewing kits in the shop from Caro London. I'm doing GCSE textiles in school at the moment so i thought this would be good practice for me. 

Caro London do a card wallet making kit in a few colours and  patterns that require pretty basic knowledge of a sewing machine. Making the wallet, I found that you also need a bit of time and patience with the instructions. It actually gets easier the further along you get with the wallet!

Here's the process:

The kit includes the patterned outside fabric and lining and a layer of padding to go between the two fabrics. There's a length of bias binding that covers up the seams along the outside of the wallet once everything's sewn together and also has the wallet pattern. You will definitely need to have your own sewing machine with a zipper foot, fabric scissors and pins. Nothing really fancy! 


 The first few instructions were quite difficult to understand for me. Lots of measuring and cutting! It asks you to first of all trace the wallet pattern onto paper. It's probably easier if you use tracing paper. once you have this template, you draw round it onto some thin card (I cut up the box that it came in and used the bottom panel).  Make sure you draw in all the markings including  the vertical lines. The card is used for the little pockets in the wallet and the tracing paper is used for the main body of the wallet.

The next step is to lay it all out on the inside of the fabric with a section folded underneath the pocket templates. Marking out 3cm round the tracing paper and 2cm round the pockets was quite fiddly. I suggest pinning it all down first and then measuring around the templates.
Once it was all cut out into rectangles I pinned the outer fabric to the padding and the lining. Don't make the mistake of pinning the outer fabric with the nice side facing inwards!!! I nearly sewed it down the wrong way! You then draw around the tracing paper with pencil. Hopefully none of the lines you draw will be seen in the end but use pencil just in case. 

I sewed around the line I had drawn with a normal foot on the sewing machine. Easy! sewing up the pockets was a bit trickier. luckily the instructions were getting a bit clearer. Tuck the card into its fabric tightly and sew as close as possible to the card using the zip foot. It didn't turn out so well for me... Just do it really slowly paying attention to the curved corners. I haven't been using sewing machines for that long and I had never used a zipper foot before. Oh well. If your sewing goes a bit wonky at this point don't worry because you can cover it with the red binding at the end.

Now you have to sew the pockets to the lining still using the zipper foot. 
Try to keep the lines that you sew as close together as possible so that its easier to cover it all up with the binding at the end.
By this stage I started feeling a bit more confident in what I was doing.
It all starts to make sense at this point. Trim the excess fabric as close as possible to the stitches
Sewing on the binding was a bit fiddly. I had to read the instructions over a few times. The edges are folded inwards. The instructions weren't all that clear for this bit. What I did was I opened up the end of the strip and folded it under. Then lay the binding with the folded edges facing up along one length of the outside of the wallet. I sewed it down the groove that was nearest to the edge about 0.5cm from the edge of the wallet. When you go round the corners, ease the tension of the binding so that it bends round the curves and sticks up a bit. I had to trim quite a lot of bulk off the edge of the wallet so that when I stretched the loose edge of the binding over to the outside, it would cover my first stitches. To finish off you sew the edge you've pulled over from the inside to the outside! 
It turned out a bit wonky and a few of the stitches were showing from under the binding but that was 
purely down to my inexperience with controlling sewing machines! For me, making this wallet wasn't a breeze but it wasn't hard either.

 I have a credit card and a few membership cards so this is really good for me. For adults who tend to have a lot more, this wallet wouldn't organize it that well as there are only two compartments. I'm thinking of decorating mine for a friends birthday with a bit of hand embroidery and applique (we do lots of this in textiles so I tend to avoid the machines). The fabric on the outside of the wallet is fairly loose so you could stitch a friends name on it with nice embroidery thread.
I think this kit would be a really good idea for teenagers who know how to control sewing machines. Even though I did struggle a bit it took me just over an hour. So if you have an evening, this is pretty good entertainment!
I'll give it a 7/10 

Dress no.3

A long time coming but here's part 3 of  Seville...three days three dresses.
This is the third dress which I made the day before going away, hoping for the sun! I wasn't sure I'd get to wear it but I was so lucky with the weather.


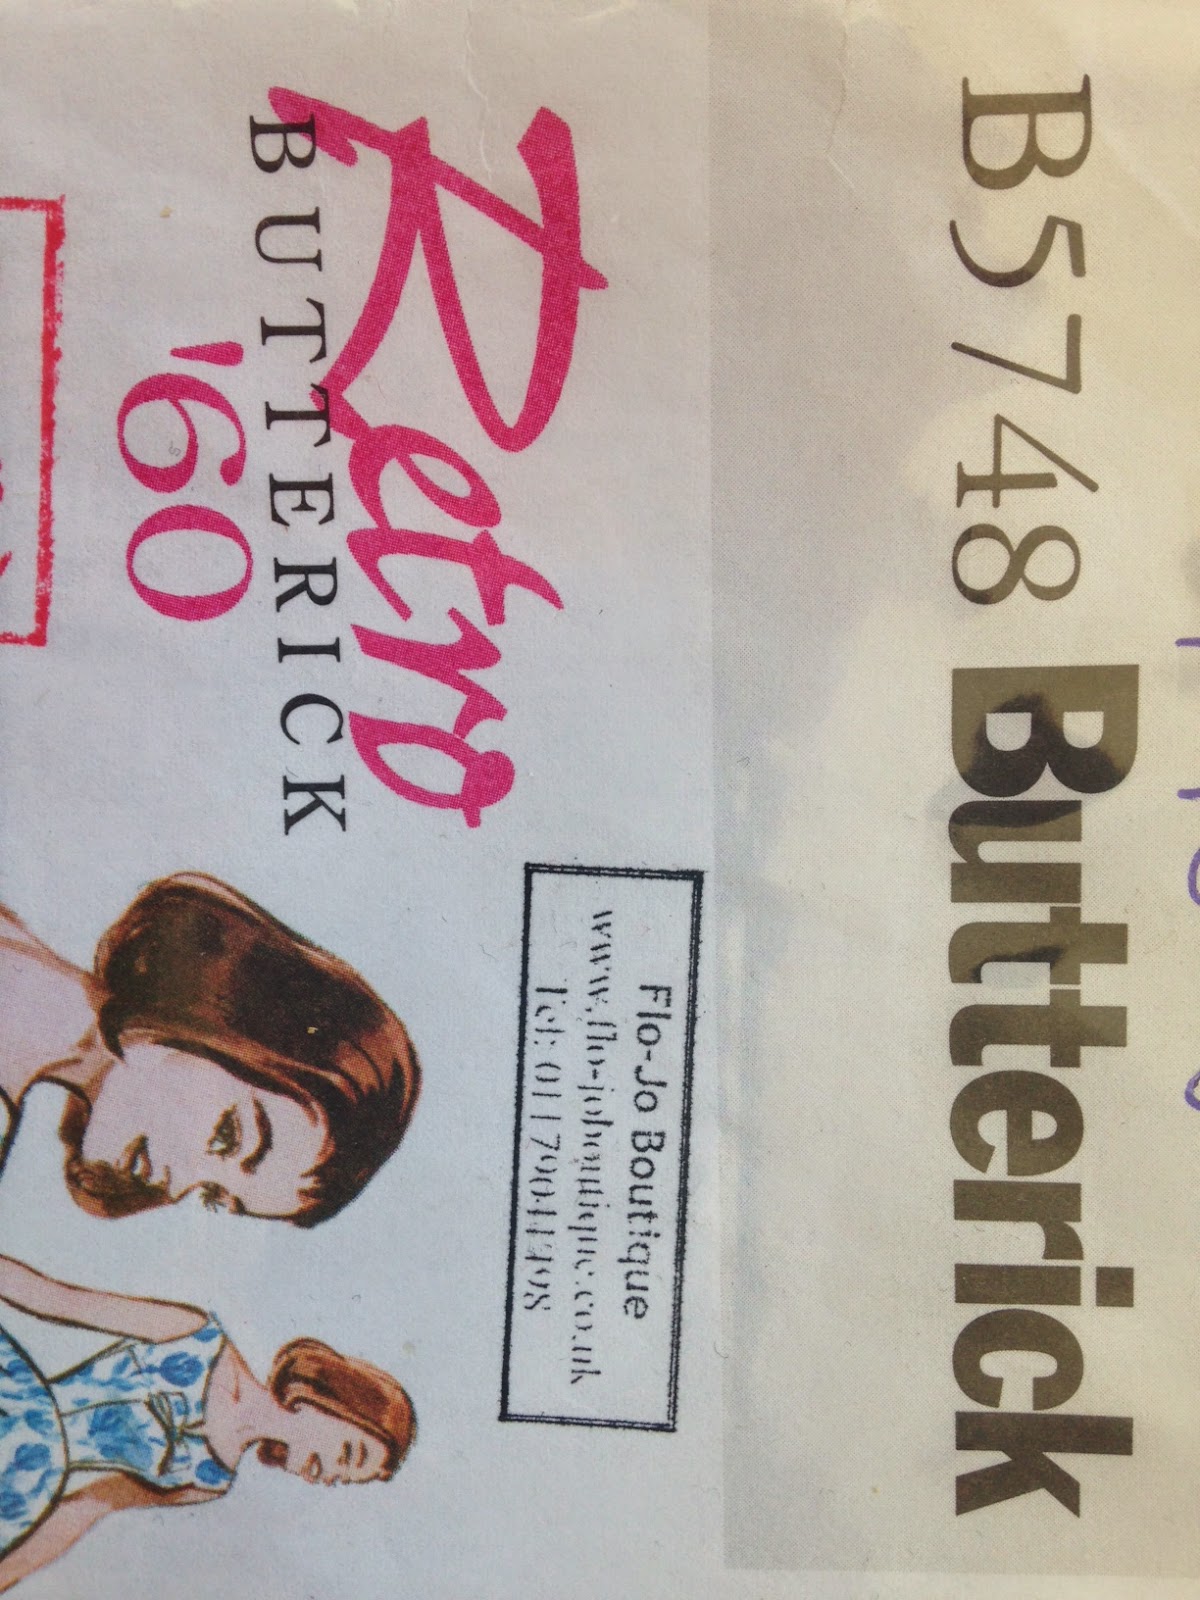
I used a vintage pattern 'Retro Butterick'  for the top of the dress and cut the skirt part myself using pleats to create fullness, and fit and of course POCKETS! I ran out of fabric for the bodice lining so used a bit of scrap spotty cotton I had at home. I used a vintage metal blue zip I'd taken out of an old dress which matched up with the blue on the fabric.

The dress fabric is from the Free Spirit design house, designed by Anna Maria Horner-Dowry called Twill Bouquet
http://flo-joboutique.co.uk/#/shop/4574185017/Twill/7413733


Monday, 14 April 2014

Dress No 2 ...in Seville!

My second dress in Seville! I call it my bridge dress. I cut the pattern myself, it's in the style a old favourite of mine which is a bit tatty. I'm happy with it all except the side pockets which I could have managed better.
I love the print and I'm really happy with the detail that I included.
When making a garment it's often the tiny details that stand it aside from a mass produced garment or make it feel like it was bought from a more expensive brand. Think about the little often subtle differences that more expensive clothes have that the super cheep ones don't...and then try and put them into your design.
Or make your garment more individual / something that no-one else will be wearing, it's all in the detail!
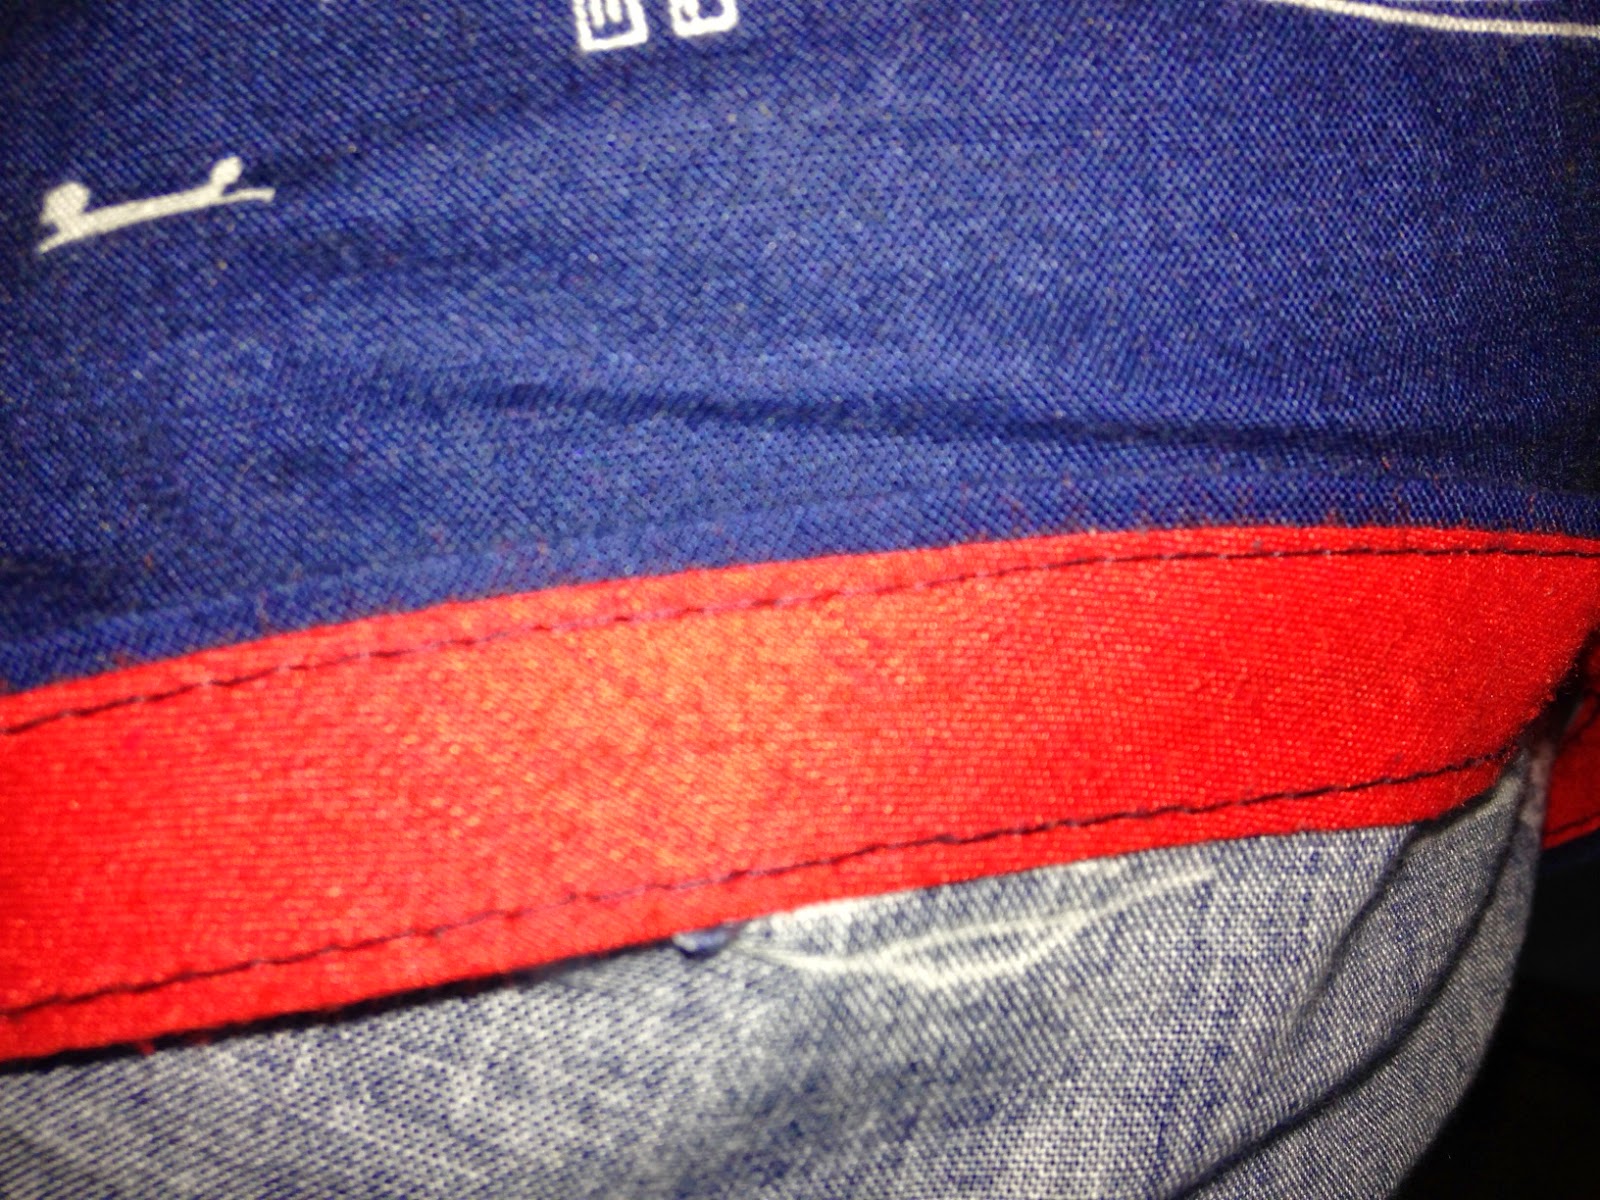
I often like to include a contrasting coloured zip, contrasting facings/ linings sometimes they're not  even seen, or are so subtle. A nice touch is a contrasting binding used to add weight to a hem. A little flash might be seen when you sit down.


The middle picture is a little bit of binding on the inside rolled and ironed in place so as to let a little bit show, it looks a little like piping.
The bottom one the binding around the hem, showing the underside.


And now in Seville!

Saturday, 12 April 2014

Three days three dresses in Seville

Seville in the Spring... orange blossom, sunshine, shady squares, sangria and flamenco, oi la!!
It's a beautiful city and so much to see.
I took with me three dresses that I had made over the last month.
The first one I made I used a Colette pattern, Macaron. The fabric was a 5% stretch cotton in a plain royal blue with a patterned cotton contrasting top from the Organic Cotton Company. I managed to cut it from 70cm of the plain and about the same for the contrast. I did some super jiggling of the pattern laying and put some extra seams in the facing!

The pattern was lovely to follow and I was really pleased with the results, I've been wearing it in the shop with black opaque tights and a cardi so it was the first time my legs have been out! I think it's a great Spring dress.
...and I do love a dress with pockets... that should become my catch phrase!  The stretch in the skirt is just enough for a really comfortable wear.


Wednesday, 19 March 2014

Vintage Wedding Dresses

At the Bristol Vintage Wedding Fair on Sunday I met a lovely lady called Helena who runs a vintage bridal dress company; Heavenly Vintage Brides


If your in search of a beautiful dress with a timeless classic and classy feel then you must take a look at her collection   http://www.heavenlyvintagebrides.co.uk/
She has a collection of vintage pieces that are one-offs and sometimes rare, but she has taken some of the most sort after looks and had them recreated into a collection so that they can be ordered anytime.
I love her Florence dress, which is a 1940's style long gown.


I also love the 1950's styling of her Blanche and Chantilly frocks.
All you need now is the vintage car... oh and the groom!


Monday, 17 March 2014

At the Bristol Vintage Wedding fair.

Yesterday I spent the sunny day at the zoo! I didn't get a chance to see the animals or the sunshine but I was surrounded by the prettiest things!
My  stand was next door to Claire from The Wilde Bunch, which is always a treat, her displays are just so beautiful.


About Me

My photo
Bristol, United Kingdom
Flo-jo Boutique is the creative baby of Delia and Erika two seamstresses from Bristol specialising in lingerie and vintage styled garments. Designers of sewing kits and creators of sewing parties their shop in Bristol and online shop are home to a gorgeous range of quality fabrics and haberdahsery, craft kits, books and handmade gifts.