Flo-Jo Boutique

Saturday, 12 April 2014

Three days three dresses in Seville

Seville in the Spring... orange blossom, sunshine, shady squares, sangria and flamenco, oi la!!
It's a beautiful city and so much to see.
I took with me three dresses that I had made over the last month.
The first one I made I used a Colette pattern, Macaron. The fabric was a 5% stretch cotton in a plain royal blue with a patterned cotton contrasting top from the Organic Cotton Company. I managed to cut it from 70cm of the plain and about the same for the contrast. I did some super jiggling of the pattern laying and put some extra seams in the facing!

The pattern was lovely to follow and I was really pleased with the results, I've been wearing it in the shop with black opaque tights and a cardi so it was the first time my legs have been out! I think it's a great Spring dress.
...and I do love a dress with pockets... that should become my catch phrase!  The stretch in the skirt is just enough for a really comfortable wear.


Wednesday, 19 March 2014

Vintage Wedding Dresses

At the Bristol Vintage Wedding Fair on Sunday I met a lovely lady called Helena who runs a vintage bridal dress company; Heavenly Vintage Brides


If your in search of a beautiful dress with a timeless classic and classy feel then you must take a look at her collection   http://www.heavenlyvintagebrides.co.uk/
She has a collection of vintage pieces that are one-offs and sometimes rare, but she has taken some of the most sort after looks and had them recreated into a collection so that they can be ordered anytime.
I love her Florence dress, which is a 1940's style long gown.


I also love the 1950's styling of her Blanche and Chantilly frocks.
All you need now is the vintage car... oh and the groom!


Monday, 17 March 2014

At the Bristol Vintage Wedding fair.

Yesterday I spent the sunny day at the zoo! I didn't get a chance to see the animals or the sunshine but I was surrounded by the prettiest things!
My  stand was next door to Claire from The Wilde Bunch, which is always a treat, her displays are just so beautiful.


Wednesday, 12 February 2014

What’s been happening in the Workshop this Week, mini Tutorial!


Flo-Jo Boutique hosted a lovely Knicker Making Hen Party this Saturday, at the end of which each Hen tied a bow and hand stitched it on to a surprise Garter for the Bride!

Take a length of ribbon, and make two loops. Tie them in a knot to create a bow, then hold the knot in the middle and pull the tails to neaten/make the size bow you want.


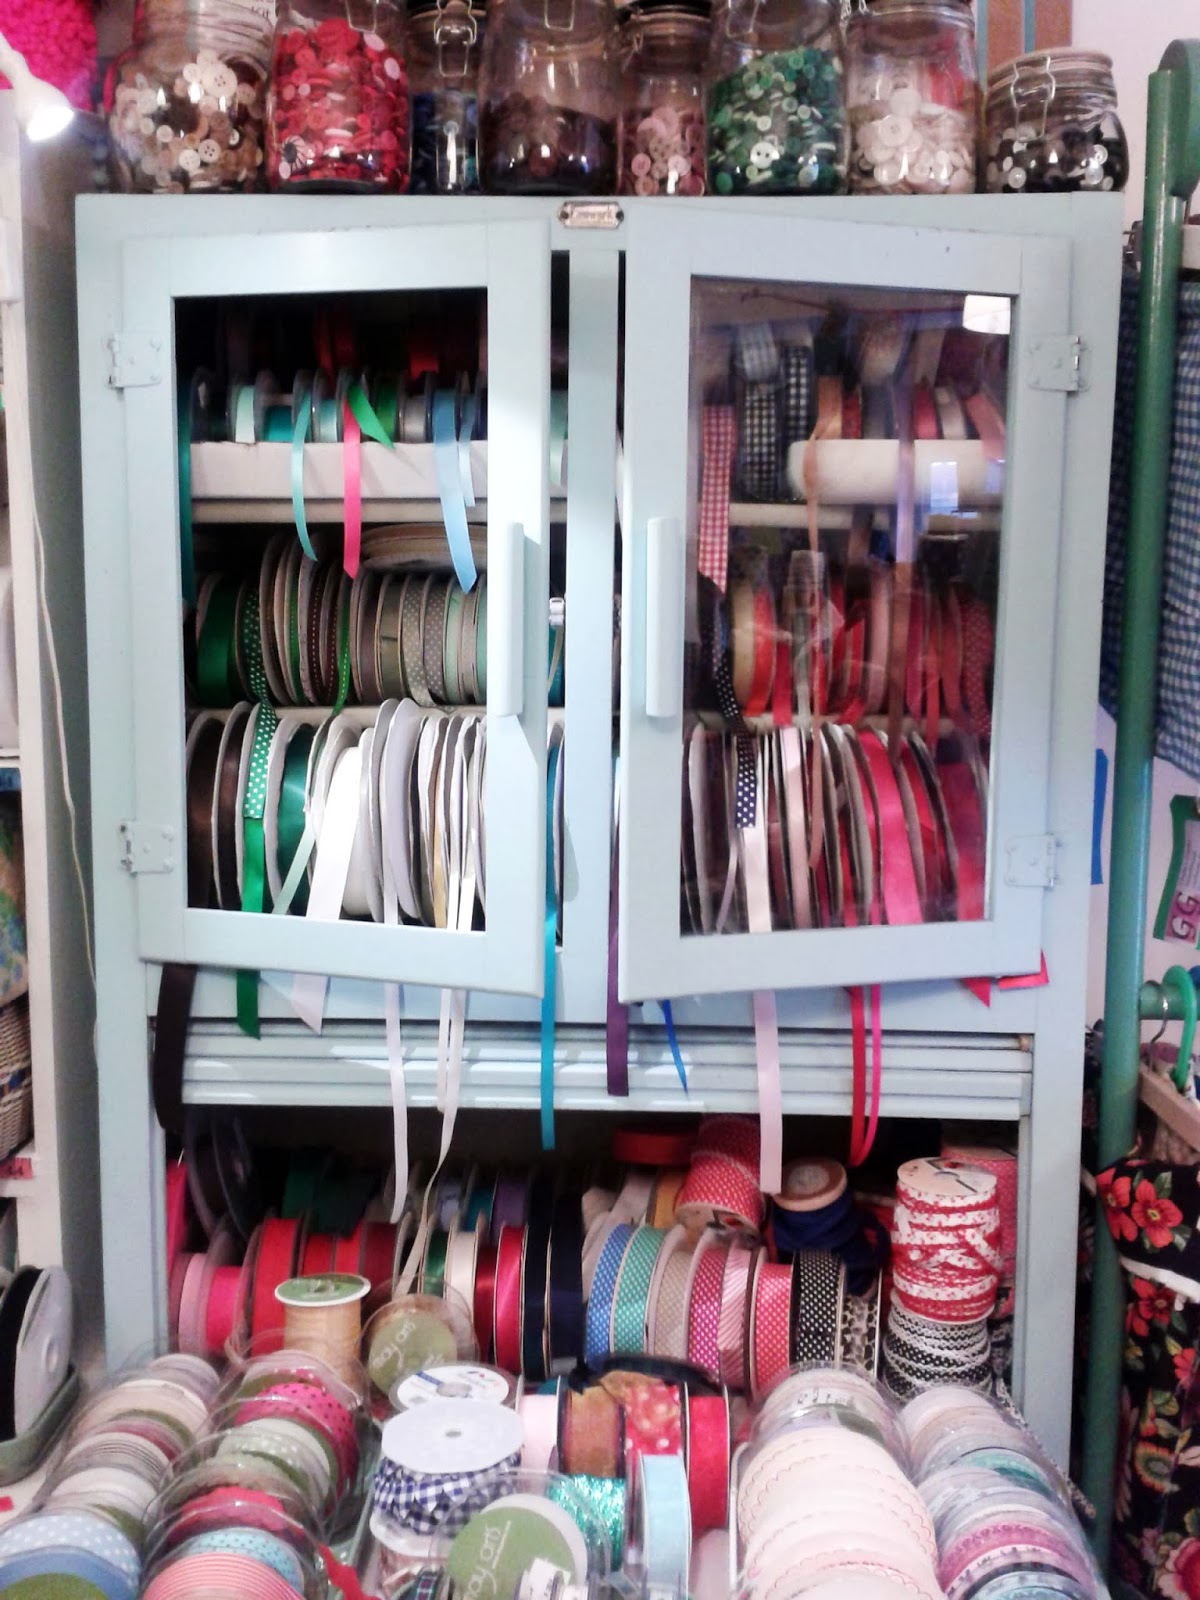
All that you have to do to create your own bows is pop on down to Flo-Jo Boutique and choose from the wonderful selection there…


Monday, 10 February 2014

What’s been happening in the Workshop this Week?

The Teen Sewing Group have just started Dressmaking, using New Look Pattern 6910 to make a Shift Dress that incorporates Darts, Pleats, Curved Seams, Zips and more! 
It is by far their most complicated sewing project to date but they are succeeding with great enjoyment!


Some have chosen to adapt the Neckline of the Pattern, and I know that others are looking forward to adapting the skirt to make Circle Skirts, Pleated Skirts and Gathered Skirts.


This week was all about sewing the Bodice together. All that concentration has paid off… look how neat their seams are!

The Teen Sewing group runs term time on a Thursday 4.30-5.30pm and currently has a waiting list but we regularly run holiday sewing clubs which are a great way to have a taster session and see if you would like to join this popular group.

Wednesday, 5 February 2014

What’s been happening in the Workshop this Week?

The Sewing for Men course just finished, and some wonderful shirts were made by all of the attendees!

Hard at work!


All used Colette’s Men’s Shirt Pattern ‘Negroni’ and whilst placket week was tense, overall much fun was had and some beautiful shirts were made.


All fabric was chosen from Flo-Jo Boutique, from plains to Liberty Tana Lawn, 
which Mark used to create the gorgeous Green Shirt above.

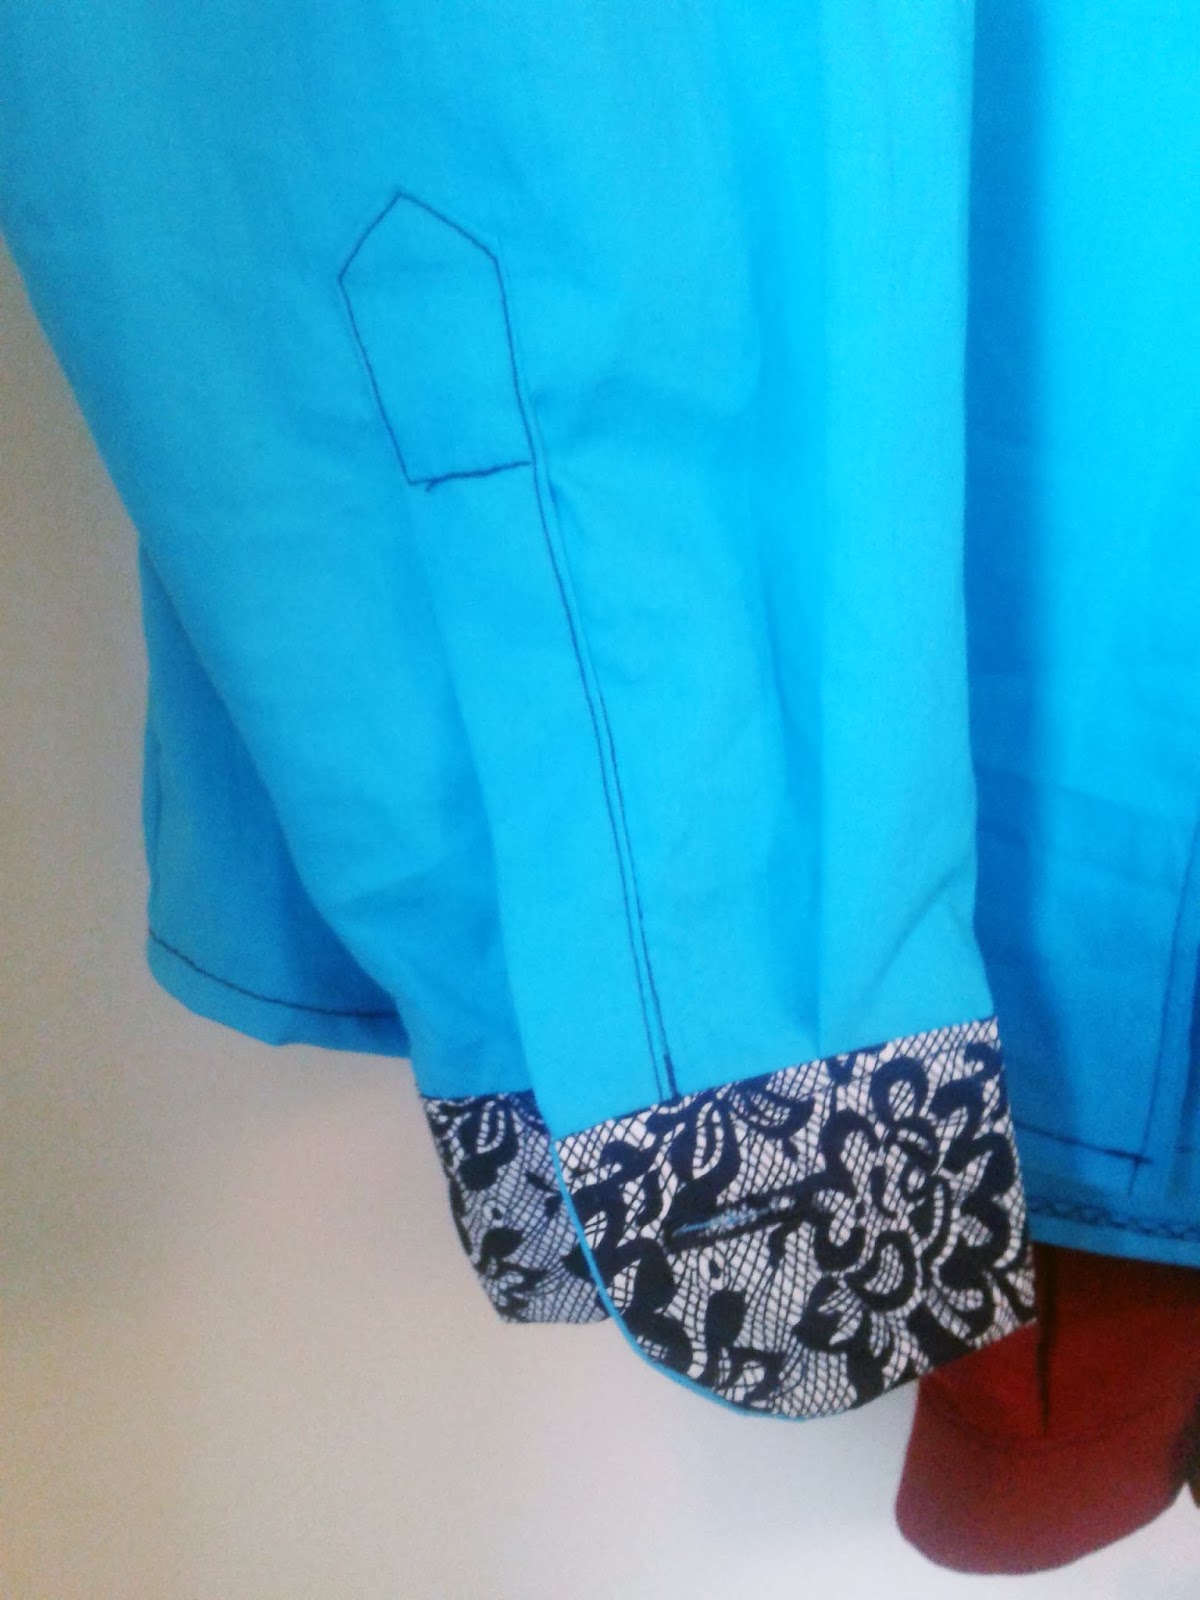
As always there was opportunity for people to add their own touch of individuality, such as contrasting collar and cuffs, which made this plain cotton shirt an extra bit special.


This course will be running again from April. Book your spot now!

Tuesday, 21 January 2014

Knicker Making Kit Sewing Tips


So its been a long time coming but I have at last put together some tips and extra pictures which I hope you will find useful, interesting and even inspiring! 
The extra information and guides should help any one embarking on their first knicker making project using our kit....

Choosing a Size


When you open your knicker making kit you will find a graded paper pattern with a range of sizes on it that may look bigger than you expect! 
Remember that you are making a cotton knicker that will be gathered in with elastic and look much smaller. In order to choose what size you will need to take your hip measurement and then either cut out or trace off  the relevant size, if you do this you can reuse your pattern in the future and make other sizes.


Layout Plan & Cutting

Sewing patterns come with a layout plan telling you how to place and cut your pattern, you need to know some terminology in order to cut out your pattern correctly.
*Selvedge - the selvedge is the edge of the fabric which was attached to the loom when the fabric was made, you can see a series of small dots along the edge of the fabric.
*Grain Line - a grain line is marked on a pattern with an arrow and needs to be placed at 90 degrees straight in line with the selvedge of the fabric.
*Bias cut - when a pattern piece is layed at a 45 degree angle to the selvedge. On a bias cut pattern the grain line is at a 45 degree angle to the top or bottom of a pattern  piece. 
Cotton cut on the bias has a bit of give or 'ease'.


Fig.1
On your knicker kit the instructions tell you to lay the pattern on the bias. 
The grain line ON BOTH PEICES is straight in line with the edge of the pattern pieces therefore sit at a 45 degree angle across the fabric.
Once you have placed your pieces accurately you are ready to pin and cut.


Picture Guide

Front and back of fabric cut out.
Lay fabric together with cut out gusset in this order: gusset first, second bottom of knicker right side up, finally front of knicker right side down.
Pin together in this order.


Using the edge of your presser foot as a guide along the edge of your fabric sew across on a straight stitch.

Then open out your knicker it will look like this.


Flip the gusset over encasing the seam you have sewn and pin in place.

Then on the right side of the fabric sew along each side of the knicker slong the gusset edge attaching the gusset to the knicker. This row or stitching is like tacking and won't show at the end as it will be covered over by your elastic.

Trim the edges of the gusset to neaten if
need be, it should now look like this.

You are now ready to change your machine to a zig zag stitch and attach your elastic, remember to colour match your top threads with your elastic.

You add your elastic along the front, back and each leg trying to keep the gather even. At the end of each side cut through the elastic. Your knicker should now look like this.

The final stage is joining up the side seams, for this you put your machine back to a straight stitch and put front to back together on each side right sides facing. Remember to either go forwards and backwards at each end of your seam Sew carefully and check to make sure you have lined up your elastic either side so that when you turn it through it looks like a continuous piece elastic.

You can then add a ribbon as a finishing touch!


About Me

My photo
Bristol, United Kingdom
Flo-jo Boutique is the creative baby of Delia and Erika two seamstresses from Bristol specialising in lingerie and vintage styled garments. Designers of sewing kits and creators of sewing parties their shop in Bristol and online shop are home to a gorgeous range of quality fabrics and haberdahsery, craft kits, books and handmade gifts.