Flo-Jo Boutique

Showing posts with label craft. Show all posts

Saturday, 1 August 2015

New dressmaking patterns in stock!

This week we have a selection of new dress making patterns in stock.

The Eliza M patterns offer a Vintage inspired collection of beautiful dresses, a perfect pencil skirt and an on trend Gypsy top. Made in the UK, working with Janome, they are suitable for beginners, those returning to sewing or the more advanced. The have clear instructions with simple diagrams to follow.

Eliza M patterns 'are especially designed with you in mind, to make stitching accessible to everybody who has the desire to create.'

Eliza M patterns £14 each.


The Tilly and the Buttons patterns are a perfect addition to anyone's sewing basket.

With their user-friendly instructions, colour photos of each step and jargon buster. They make sewing a breeze, even for new dressmakers. With a touch of retro flare, these patterns will make fantastic staples in everyone's wardrobe...and they are fun and fulfilling to make yourself! What more could you ask for?

Tilly and the Buttons Patterns £13 each.


So pop into the shop to buy our new patterns or shop online for our Colette, Sewaholic and Merchant and Mills patterns here.

We look forward to seeing your creations soon! Happy stitching! Enjoy your weekend! xxx

Saturday, 27 June 2015

Top # 64 by Merchant and Mills

Yesterday I decided to actually make what I said I was going to make weeks ago, which is this modern take on the fisherman's top by Merchant and Mills. We stock a range of their patterns and this one caught my eye, as it's perfect for the temperamental British summertime weather and will look great made from a variety of fabrics. 

I've chosen to use up some of my fabrics and am going to use a crisp white cotton (£4.50pm) for the top part and a contrasting band on the bottom using our monochrome cotton floral print (£7.50pm) (I used this originally for a gathered, high waisted skirt). Hopefully this will add a feminine touch to this versatile smock. 


First cut out all your pattern pieces to the size you need them, then lay them onto your fabric.

Top tip: trace out your size onto dot and cross paper (£1pm) so that you can use all the sizes on your patterns at another time.

Pin your pieces down and cut them out. Don't forget to transfer all the markings and notches.


Pin your top front pieces, right sides together at the centre seam and sew 1.5cm seam allowance.


Zigzag stitch or overlock to finish the edges and press open.


Top stitch on the right side of front top, if desired. I did it in white so it was subtle but it would look lovely in a contrasting colour (if your confident that you can sew in a straight line!)


Pin your front top, to your front bottom, right sides facing, making sure you match up the corners of the pockets and notches carefully.


Once pinned, sew carefully making sure your lines are straight, as this will be where your fabric joins at the front and you want your pockets to be level.

Zigzag stitch or overlock to finish the edges.


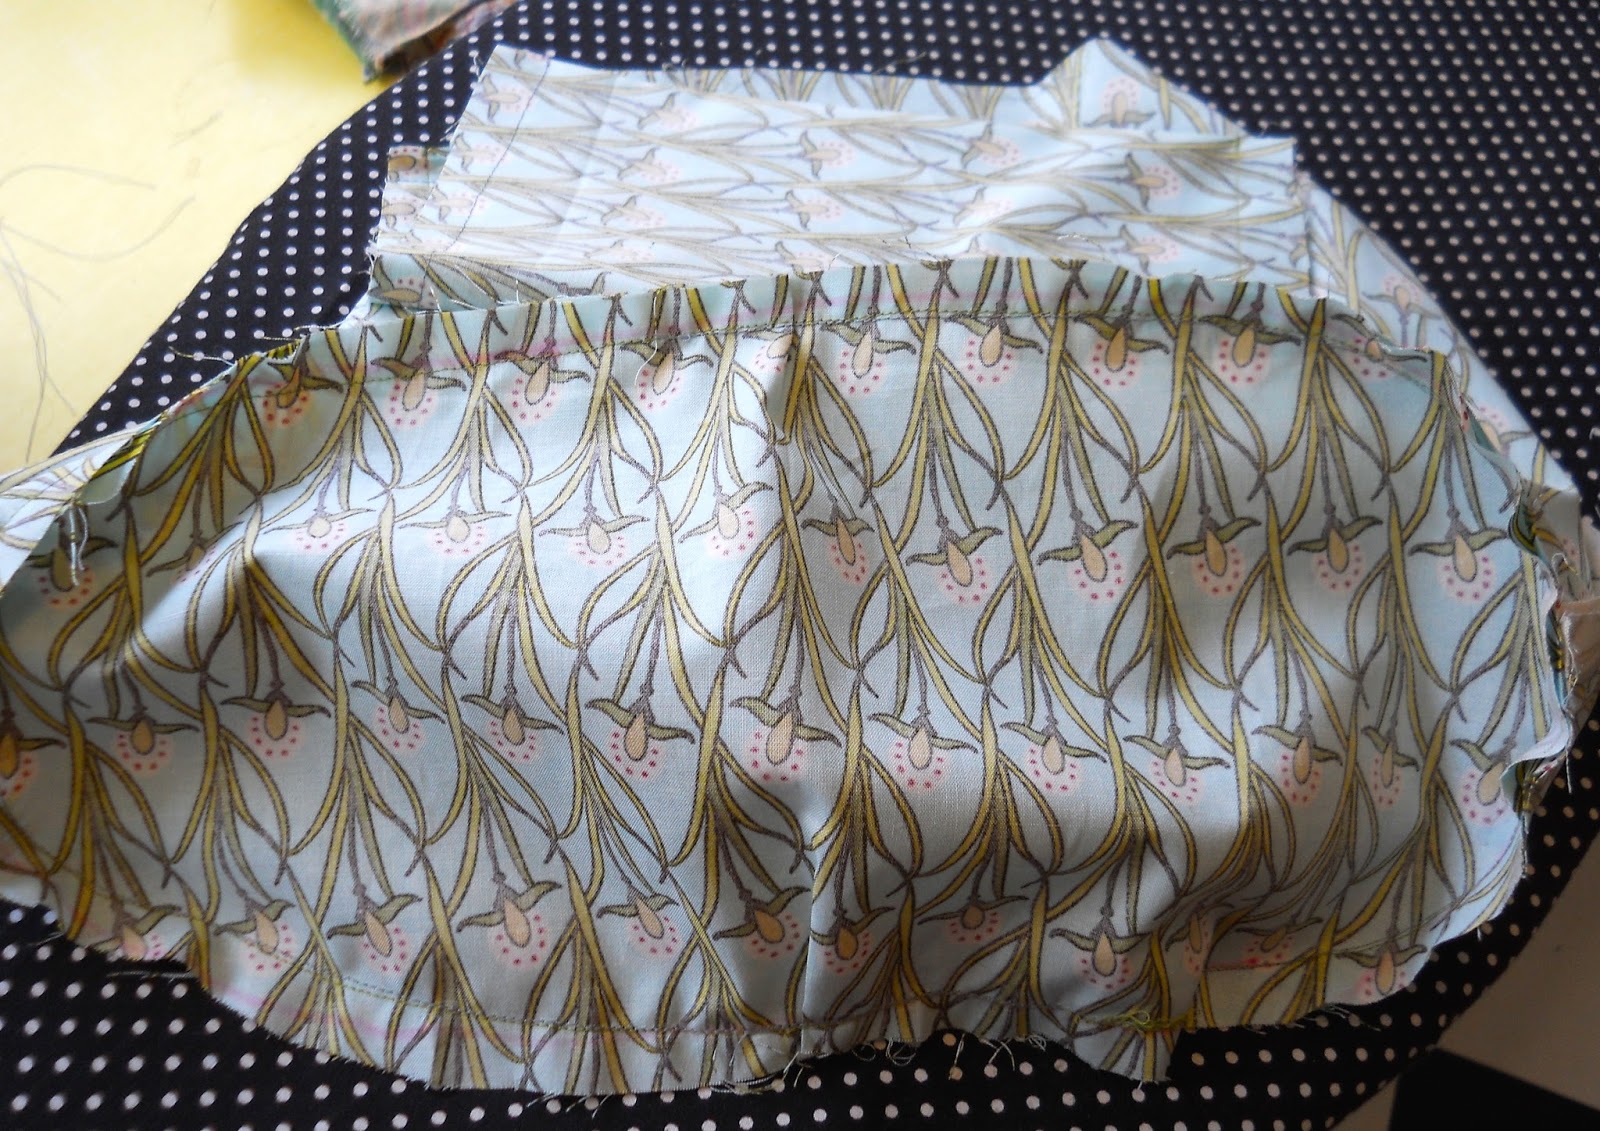
On the wrong side, press your pockets downwards and pin the pockets in position at each corner and re-sew over the pocket lines, these lines will be seen on the front so make sure you choose a suitable colour and sew carefully.


This is the pocket from the front now held in place with your second stitch line. They can hardly be seen which I like with this fabric, but would like to try a bright colour thread too, to emphasise them.


Onto the back, pin the back top pieces with right sides together at the centre seam and sew.

Zigzag stitch or overlock to finish the edges and press open.


Top stitch on the right side of back top, if desired.


Pin your back top and back bottom right sides together and sew.

Zigzag stitch or overlock to finish the edges and press open.


On the front, with right sides together pin your front sleeves to your front arm holes. Making sure you match up the notches carefully and pin with the curve of the sleeve.

Sew using straight stitch and then zigzag stitch or overlock to finish the edges.


Repeat with the back sleeves. Taking care to match up the notches.


Next, with right sides together match up the front and back sleeves along the top edge.

Sew using straight stitch and then zigzag stitch or overlock to finish the edges.


Then, with right sides together match up the front and back sleeves under arm and side seams. Make sure you match the notches carefully as the point under the arm can end being a bit bumpy if not done well.

Sew using straight stitch and then zigzag stitch or overlock to finish the edges.


Iron on your interfacing to the wrong side of your neck facing. Zigzag or overlock the outer edge.

With right sides together match up the facing into your neckline and pin.

Sew in place and then clip to allow the facing to sit flat against your skin.

Edge stitch just above your seam so that it helps to keep the facing flat. Try and get this stitch line as close as possible.

Press facing into place.


Turn up your sleeves. I doubled mine up with quite large chunky cuffs, as I wanted them to be a 3/4 length turn up, all the time. Press, pin and sew in place.

I found the sewing quite hard as my machine was too wide for the sleeve to fit on so in the end I did them by hand. I'm not sure if this is because my seams were inaccurate or I hadn't turned the sleeve up enough to the wider part of the sleeve, or if my machine is just fat. So let me know how you get on?!


Turn up, pin  and sew bottom edge hem. Then finally press everything!!!


Voila...one fisherman's top ready to wear whilst I sit on a deck chair in my living room, sipping cider and pretending I'm at Glastonbury like all the rest of the Flo Jo team!!!

What have you been making this weekend?

Have a good evening.

Fran xx

Thursday, 11 June 2015

Cloud 9 fabric and a new lining

The other day I relined a bag with this wonderful Cloud 9 fabric called "across the pond". We have a whole shelf full of Cloud 9 and Echino fabrics which are great for making bags as some of them are a slightly heavier weight. Or you could use any of our wonderful cotton fabrics to make pretty much anything!
This bag has still got some wear left in it so it would be a shame to stop using it just because lining looks like below...
 To make the new lining fit the bag, unpick the side seams and the bottom piece to use it as a pattern.
Trace off your pieces and cut them out in your new fabric.
 I copied the mobile phone pocket and ironed on some interfacing to make it a bit steadier in between two pieces of fabric.
 Fold the seams in and stitch into place.
 On the other piece of the bags side I measured and marked out a space for a pocket with a zip.
 It was a really tricky to pattern match this print but I'm quite happy with how it turned out.
The last three seams to put the lining together is to sew the sides seams and then pin them to the bottom piece of the lining.
All that is left to do is to attach the lining to the bag and it looks almost better than it did as new. I love how well the blue and green in the print fits so nicely with the brown leather. Now all you need to do is find a bag to reline!

Sunday, 31 May 2015

This week's feeling:


This is a great thing, I love having lots of ideas and feeling inspired, now to find me some time?
Anyone know where it hangs out?

Enjoy your weekend, I hope you've had the chance to be creative this week!
Share your creativity on our Facebook page - Flo-Jo Boutique.


Saturday, 30 May 2015

Upcoming workshops and courses

As some of you may know, we not only stock fabric, gifts and haberdashery items. We also run workshops and courses to teach you how to make fabulous things!

Here are a list of the upcoming workshops, which can be found on our website too:

1 space available on our Beginner's Dress making, starting this Tuesday 2nd June 6.30pm-9pm  for 5 weeks, £100.


Lampshade making, Saturday 13th June 10am-1pm £40


Let's Get Sewing:


Level 1- Saturday 11th July 10am-1pm £35- covering the basics of how to use a sewing machine

Level 2- Saturday 20th June 10am-1pm £35- covering zips, pockets, button holes, darts and pleats.


Beginners Sewing- Making a skirt.
2 day course Tuesday 7th July and Wednesday 8th July 10am-3pm £90 all materials included.
Day 1- learn the techniques needed to make a skirt
Day 2- make a skirt using a commercial pattern out of some our fabulous fabric.


Beginners Dressmaking- Tuesday 7th July 6.30pm-9pm for 4 weeks, £90
Using the ultimate classic shift dress from Merchant and Mills.


For more details about any of courses, feel free to drop into the shop, call us or visit our website.
36b Gloucester Road, Bristol, BS7 8AR, 0117 9041498, www.flo-joboutique.co.uk

We hope to see you soon!

About Me

My photo
Bristol, United Kingdom
Flo-jo Boutique is the creative baby of Delia and Erika two seamstresses from Bristol specialising in lingerie and vintage styled garments. Designers of sewing kits and creators of sewing parties their shop in Bristol and online shop are home to a gorgeous range of quality fabrics and haberdahsery, craft kits, books and handmade gifts.